- Home
- Event and Space Management
- How to Request Space
- PhoenixSPACES Event Request Guides
PhoenixSPACES Event Request Guides
Submit an Event Request Using PhoenixSPACES
The guide below details instructions for submitting Level II and III event requests. Continue here or download a copy of the guide.
Get Started
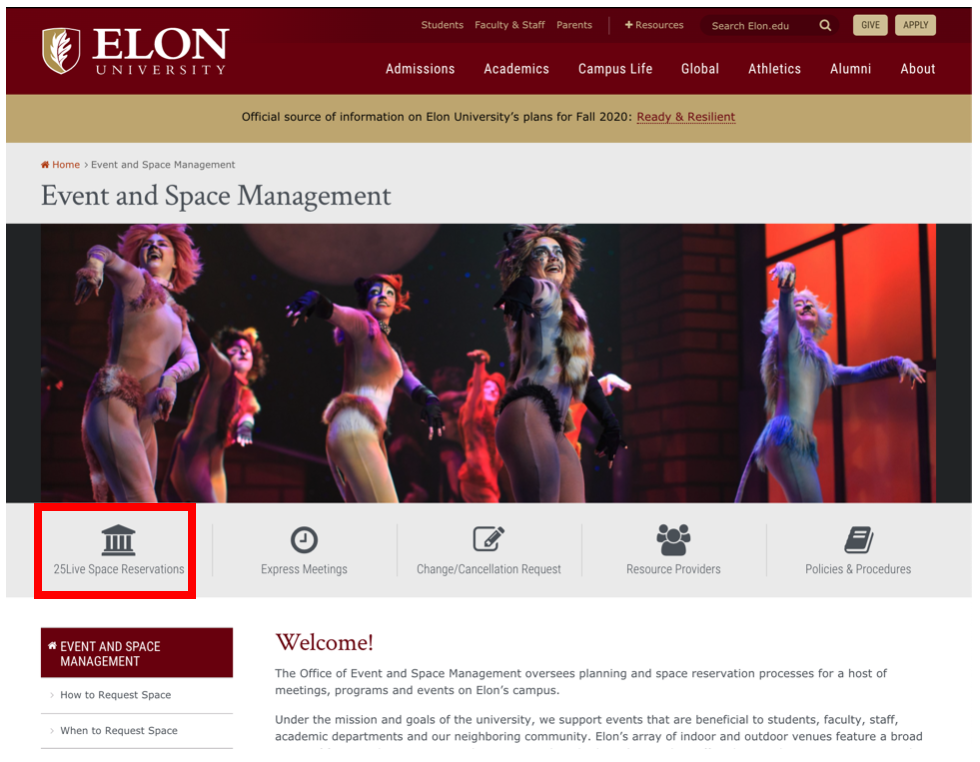
- Navigate to the Event and Space Management homepage, and select the Make a Reservation icon under the image slideshow.
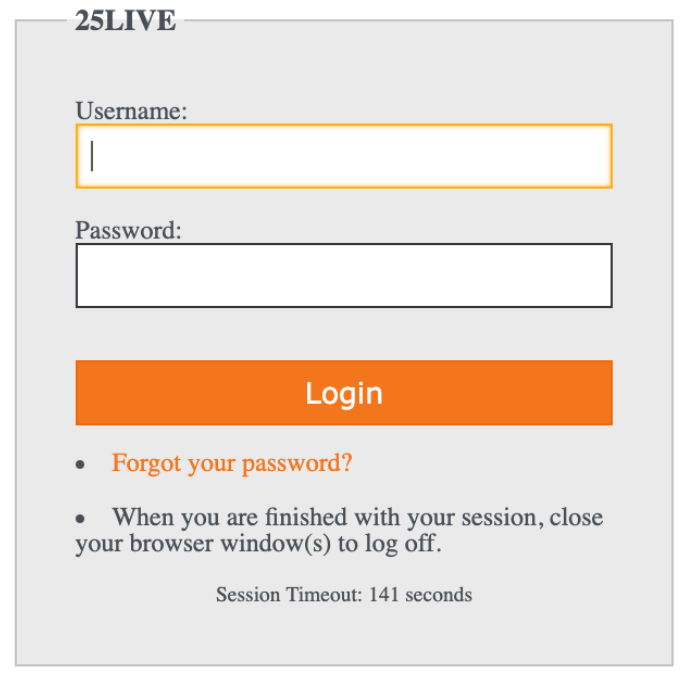
- Enter your Elon email username and password to sign in. You may be prompted to complete multi-factor authentication (MFA) using DUO Security.
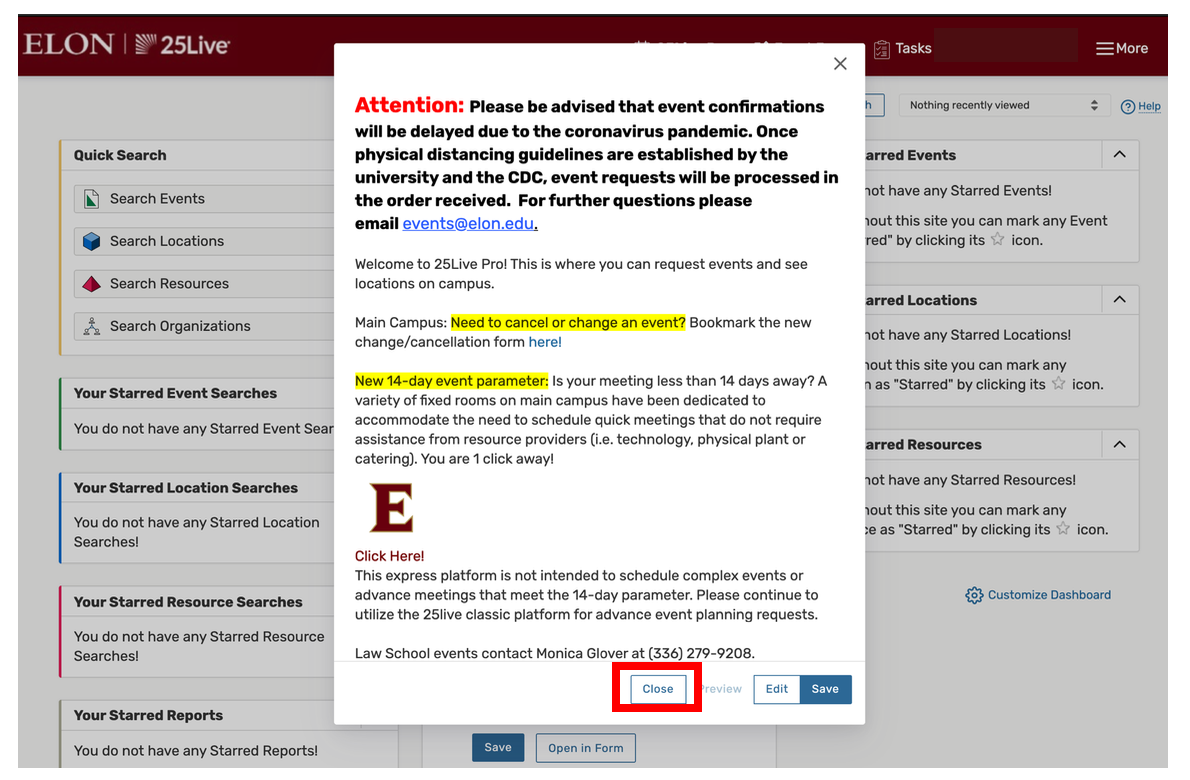
- Updates about campus events will appear. Please review details, then select Close to continue.
Create an Event Request
- Select Event Form along the navigation at the top of the screen to begin completing your request.

- Starting at the top of the form, enter event details. You must complete all required fields to save your request. Some fields may search ahead as you type in them.
-
-
- Event Name: Used to display your event on the University Events Calendar
- Event Type: Determines other choices in the Event Form, e.g. attributes
- Primary Organization: Indicates the event host, e.g. your department and additional organizations may be added
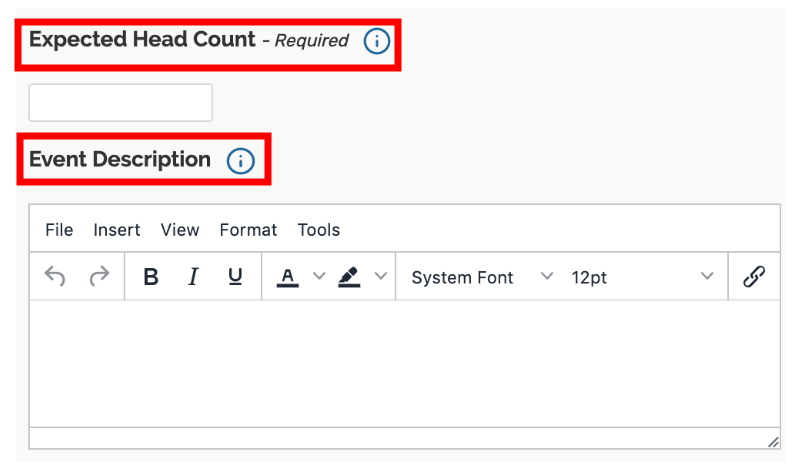
- Event Description: Details about your event, which will appear on the University Events Calendar to publish this event
-
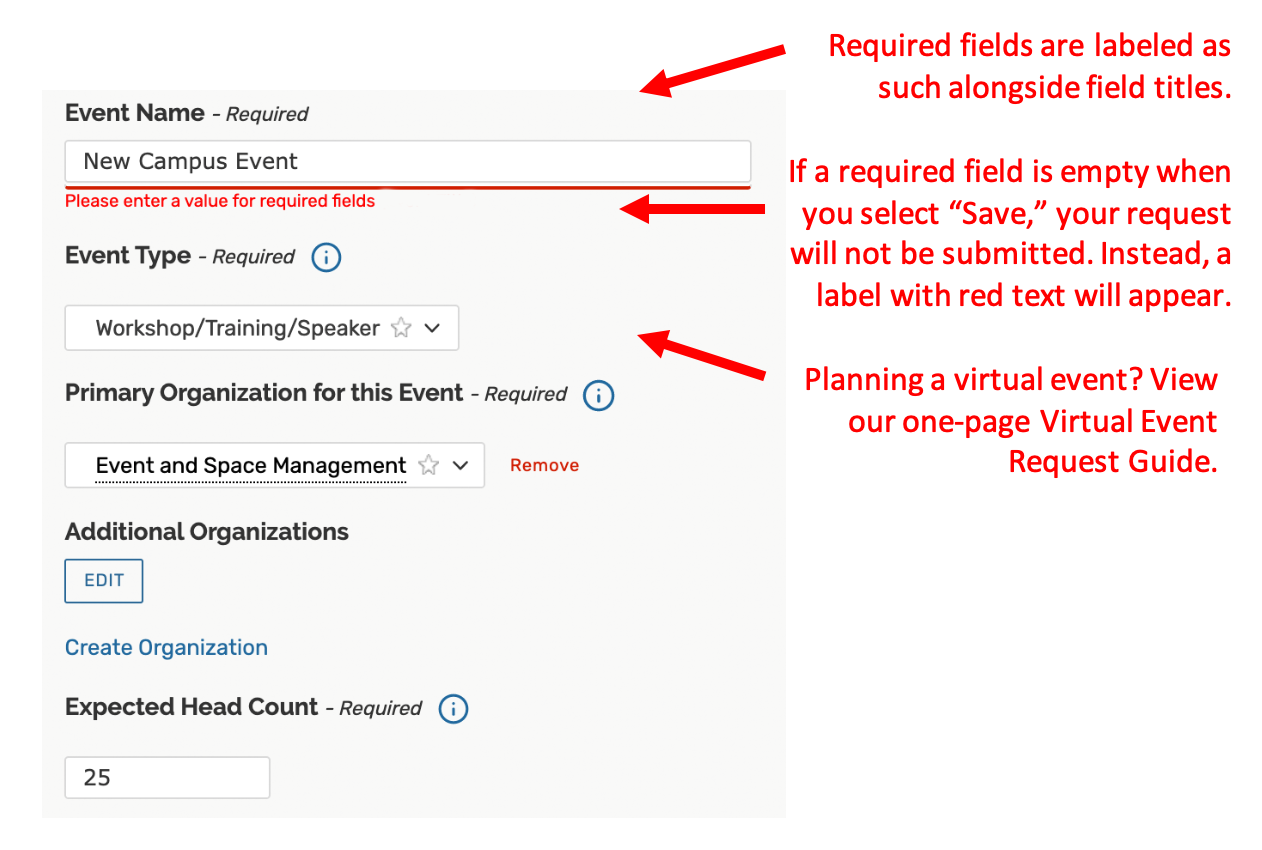 View the one-page Virtual Event Request Guide.
-
- Enter an Expected Head Count for the event. Then, add an Event Description details.
-
-
- Custom Formatting: This field allows you to format text with a variety of options.
-
-
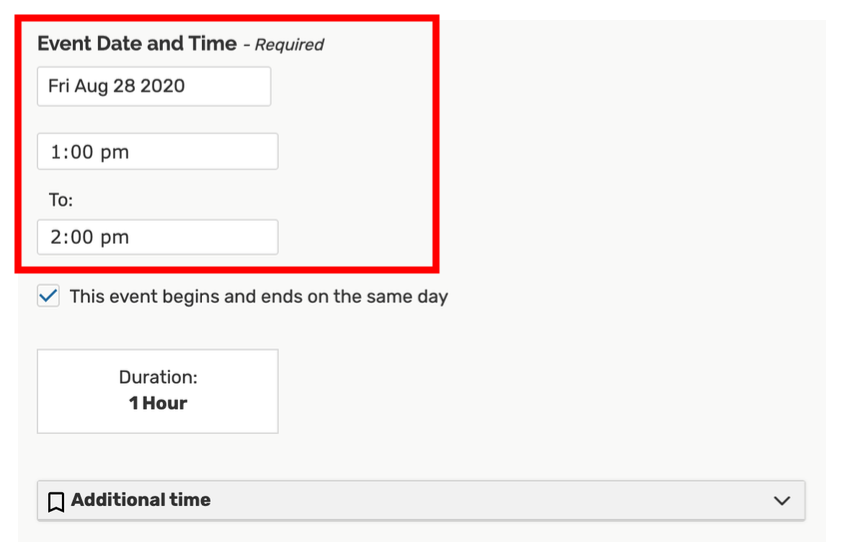
- Next, specify the date and time of the event. If the event occurs on multiple days, you will enter details in the next step.
-
- “The event begins and ends on the same day”: Your event will always start and end on the same day. Please do not uncheck this selection as it will interfere with the processing of your request.
-
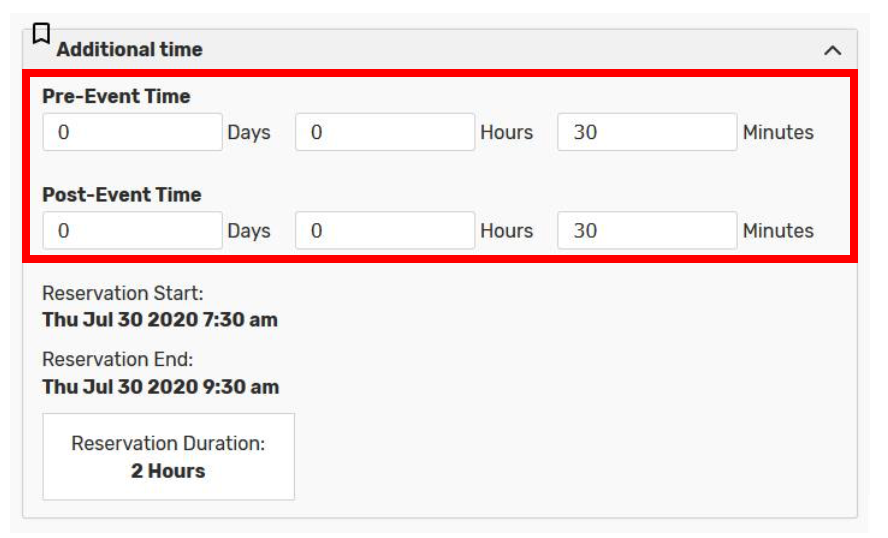
- Additional Time: You may add extra time for pre- or post-event activities. These activities do not include setup and breakdown, which are added as Custom Attributes later in the form.
-
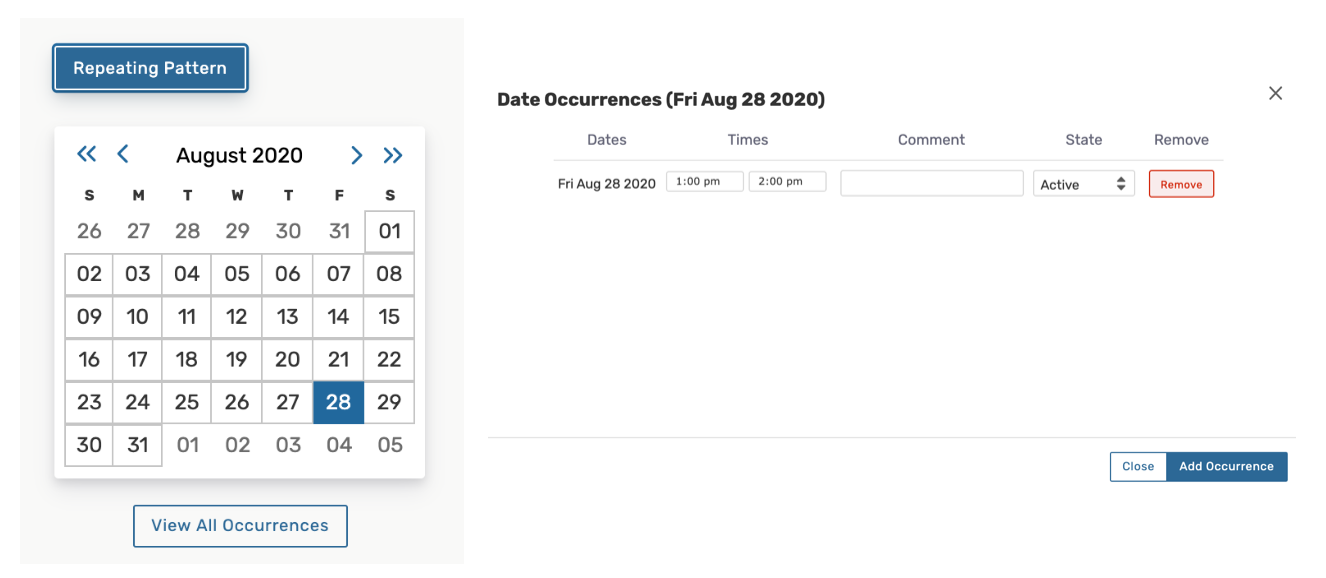
- The date you specified in the previous section will appear in the calendar. For multi-day events, please use the calendar to select additional dates. A list of your selections will appear in a new window. You may adjust event hours for any date, if necessary.
- Type a specific location or use Public or Saved Searches to view available venues.
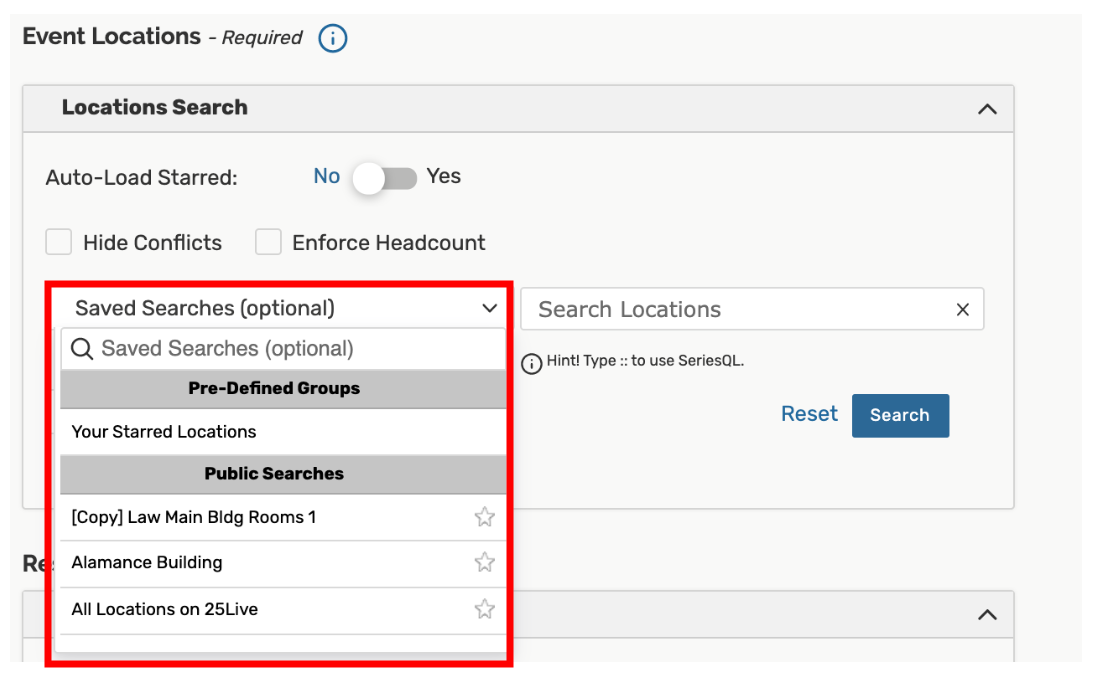
-
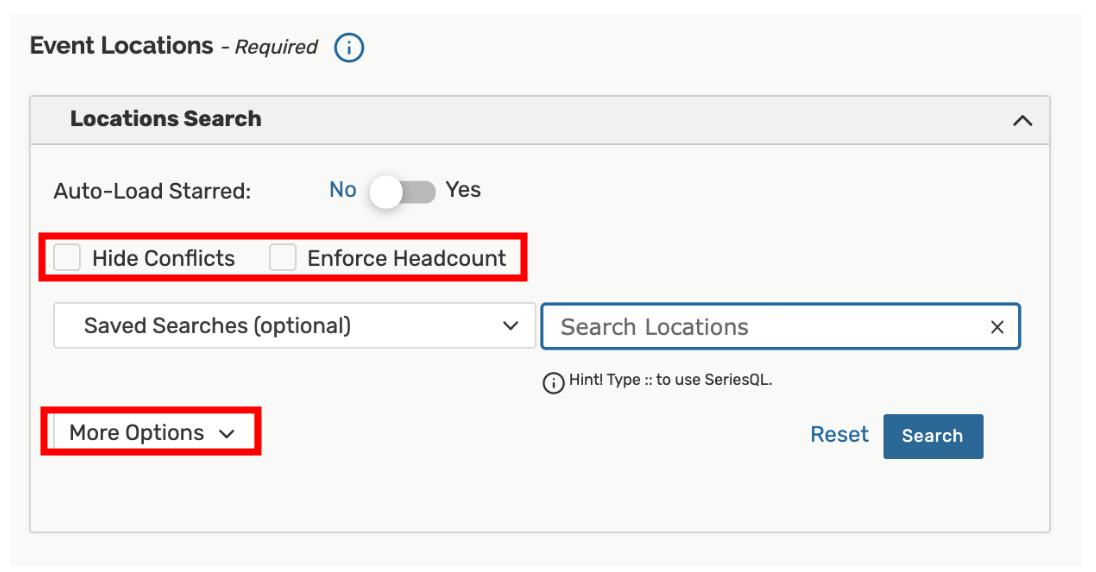
- Keyword Search: Select More Options to add additional parameters if you want to identify locations that include specific features, layouts or capacities.
- Hide Conflicts & Enforce Headcount: These options must always remain unchecked as they will significantly limit the list of available locations shown.
-
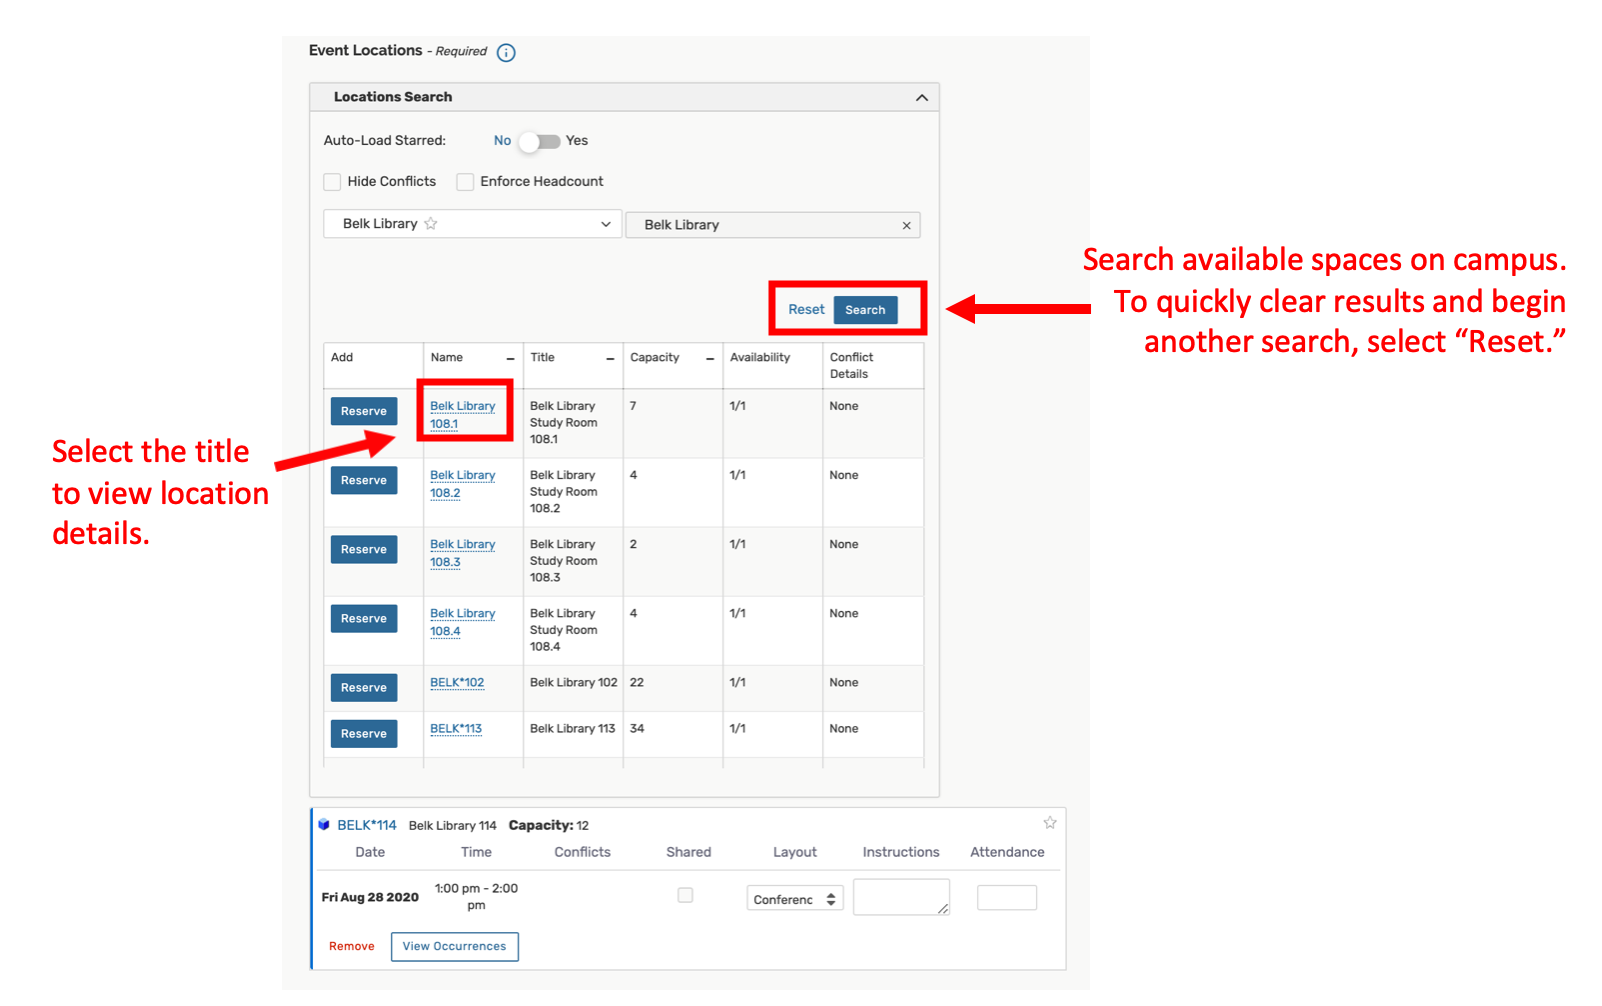
- As you search, 25Live Pro will check venue availability based on the dates and times specified. Select linked titles to view location details. If applicable, select Conflict Details to view related information.
-
- Attach Files: Select Upload a File to attach a JPEG or PNG file from your computer to the form. You can include up to five files, which cannot exceed 25MB.

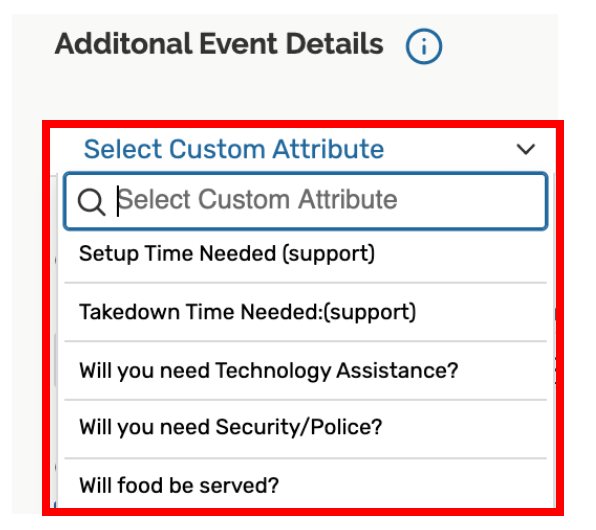
- Custom Attributes: Select Additional Event Details to add custom attributes relative to the event, e.g. private event, alternate date or location, catering needs, additional setup time, additional takedown time, etc.
- Event Contact: The Contact Roles for this Event section is automatically completed based on your login credentials. You should only edit these details if you are submitting the event request on behalf of someone else.


- Event Comments: You may leave additional notes about your event for Event and Space Management staff in the Event Comments box.

- Save Event Draft: In the section After Saving This Event, you may choose the area of 25Live Pro where you want to be taken after saving the event form draft. Then, select Preview to view a draft of the form draft before saving or select Save to submit the form.

Tips
- The option to Cancel the event form is always available in the bottom right corner of the page, alongside options to Preview and Save. If you select Cancel, be aware that your selections will not save.
- The event request reference number is displayed after the event is saved. You can use this number later to quickly find the event in 25Live Pro.
Next Steps
Visit the How to Request Space page on the Event and Space Management website to review information about event types, the space request process and general policies and procedures for university events.
Get Help
For additional assistance, explore how-to articles or contact the Office of Event and Space Management at (336) 278-EVNT (3868) or events@elon.edu to inquire about training sessions.
